Johannes Itten was an artist, designer and educator who spent much of his life exploring how colour works, especially the dynamic relationship between colours.
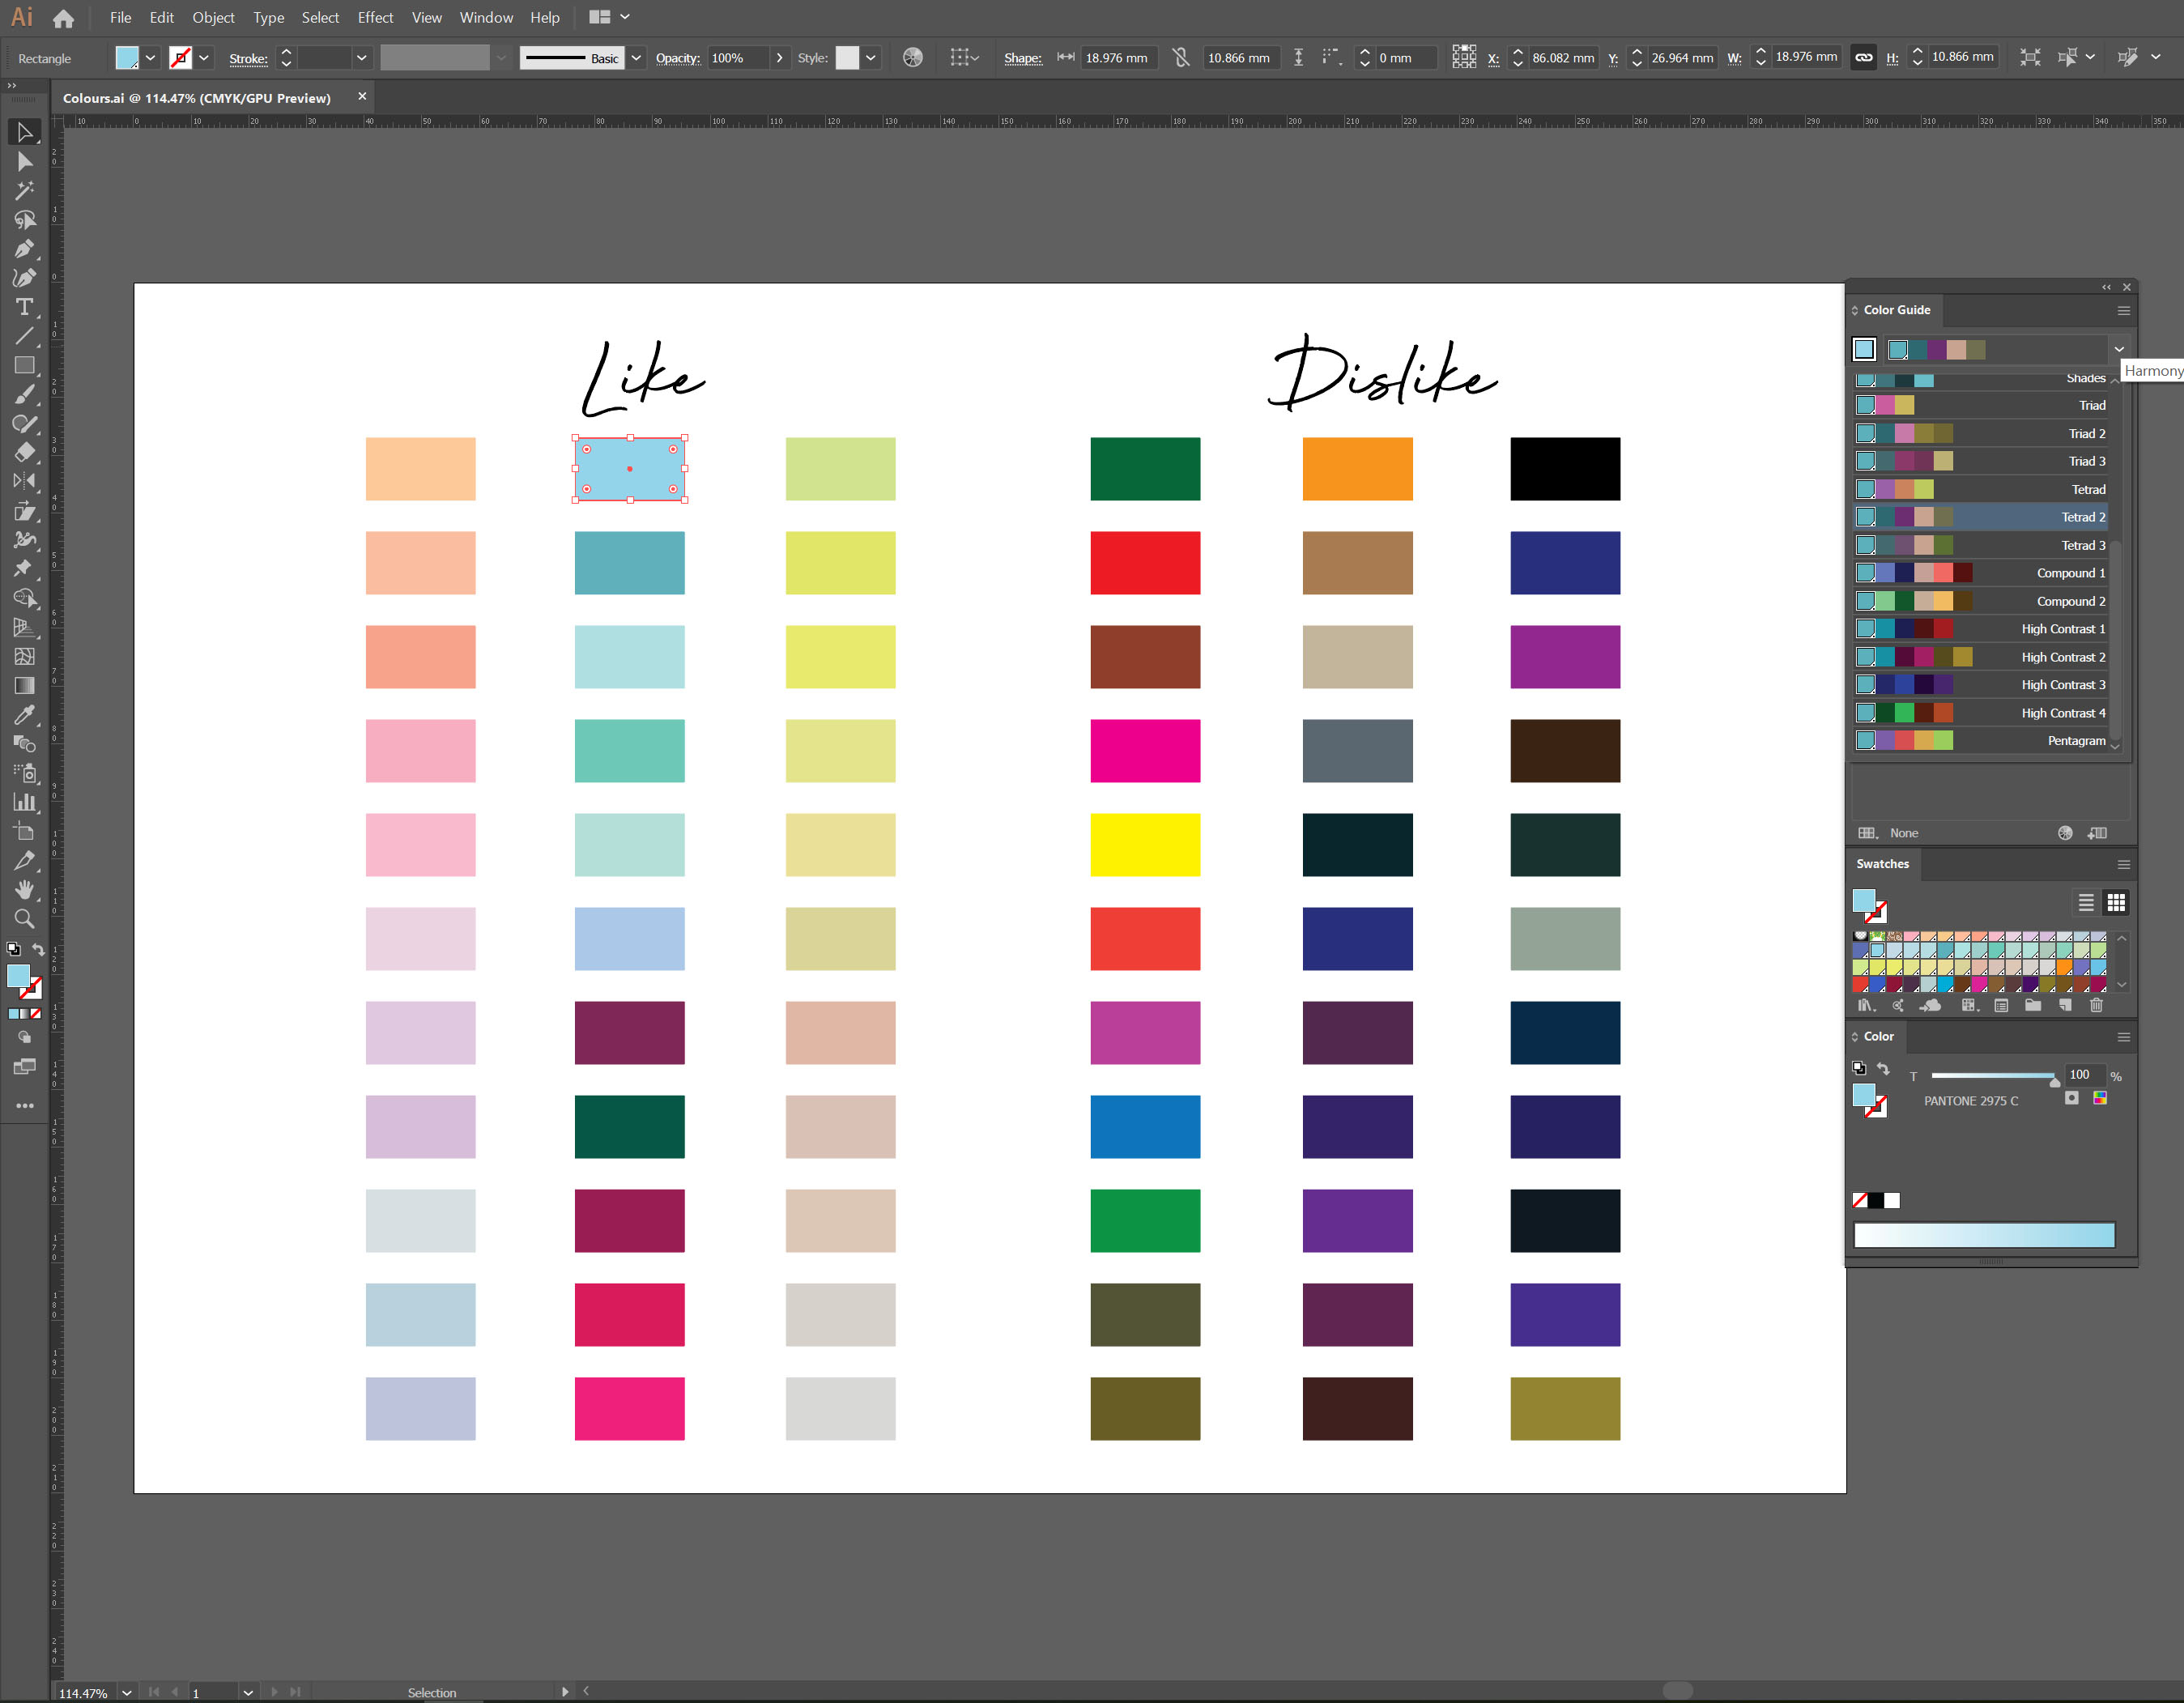
Brief: Draw two grids of squares, filling one with colours that you like and the other with colours you dislike. Then put the two grids side by side and ask the question ‘which one looks better?’ The usual result is the grid full of colours you dislike. This is because we tend to pick bright colours as the colours we like, which when placed side-by-side look garish and jarring. By contrast the colours we think we don’t like as much are often the more subtle and muddier mixed colours, tertiary colours and occasional bright hues. When placed side by side the effect is more balanced.
This is an important lesson for designers when picking a colour palette to work with: use bright colours but balance them against more subtle colours. It will also help you become better acquainted with your image manipulation or DTP software – identifying where your colour swatches are, how to select them and how you blend colours by changing their opacity.
Next, try experimenting with placing colours together as Itten did.
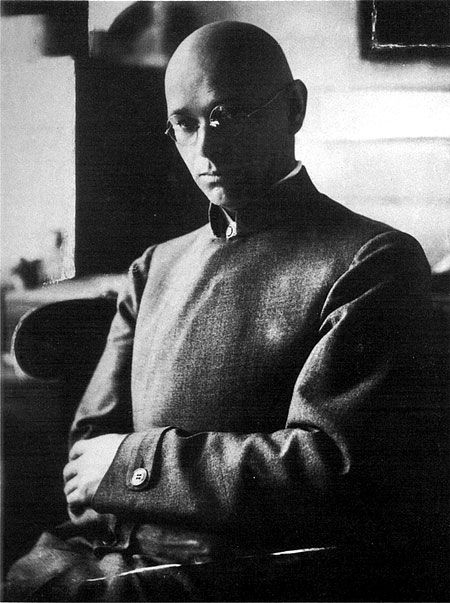
Itten, Johannes (1888–1967) 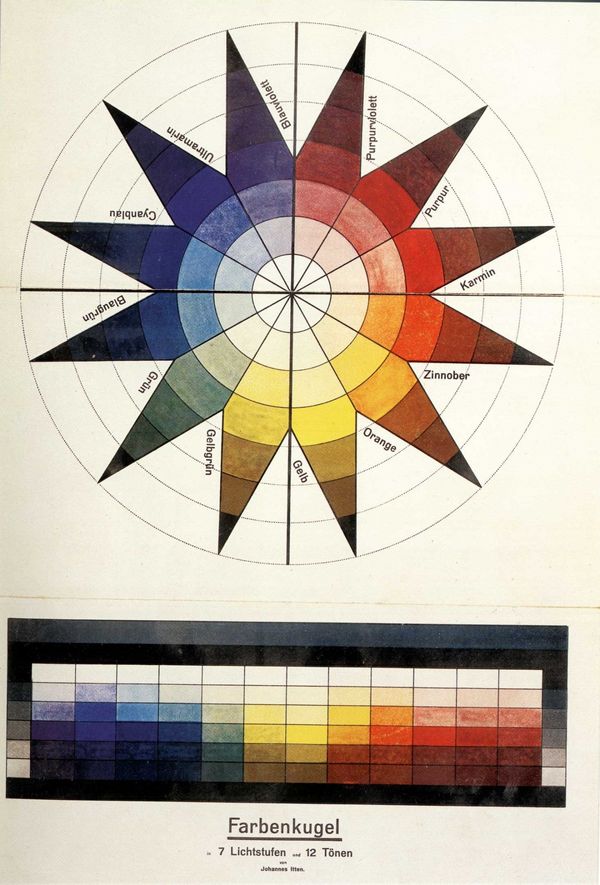
Bauhaus-Archiv Berlin © VG Bild-Kunst, Bonn 2017 Colour Sphere in 7 Light Values and 12 Tones, author Johannes Itten, in Adler, Bruno Utopia
Try and find different combinations of two colours to illustrate each of these ideas:
Angry Brave Creative Dangerous Energetic Familiar Gregarious Hopeful Independent Jumpy Kinetic Luxurious Masculine New Open Precious Quiet Reasonable Sociable Tasteful Unhappy Vital Wonderful Extra special Youthful Zany
Primary Research
Before embarking on a practical lesson, I made a little fact-finding tour of the artist Johannes Itten, the founder of colour theory. For me, colour has always played a key role in design and image perception. I noticed that, regardless of the complexity of the composition, and the message that was build in design, I was always attracted by the harmony of colour, most of our purchases are based on a subconscious choice of colour. It was a great discovery for me that this designer was the founder of colour solutions, our mood, our desires are very often associated with colour compositions.
Itten, Johannes (1888–1967), Swiss painter, teacher, and prolific visual and educational theorist. A well‐known artist, designer, and educator, Itten is perhaps best known for contributions to the Foundation Course (Vorkurs) at the Bauhaus in Weimar between 1919 and 1923. Itten wrote several books on art theory and his work as a painter consisted mainly of geometrical abstractions exemplifying his researches into colour. He emphasized the importance of knowledge of materials, but also encouraged his pupils to develop their imaginations through, for example, automatic writing Itten’s experiential and expressionist approach to creativity was increasingly at odds with Gropius’ growing commitment to the machine aesthetic as a key goal of the Bauhaus’s educational curriculum.
A Dictionary of Modern Design (2 ed.) Publisher: Oxford University Press
Itten Johannes. The Art Of Colour
Key Ideas
Itten’s Vorkurs or foundations course at the Bauhaus pioneered techniques that remain central to art school teaching today, including the encouragement of self-expression and experimentation with materials and techniques.
As a believer in Eastern Mazdaznan, Itten encouraged students to embrace mysticism as part of their art practice. He taught meditation and breathing exercises, as well as gymnastic routines that were designed to maximize creativity.
Itten developed an intricate theory of colour, which associated colour palettes with types of people and seasons. His work on colour contrasts, which characterized seven different types of comparisons, was important for the development of Op Art, but would also influence palettes designed by cosmetic companies in the late-20th century.
Source: https://www.theartstory.org/artist-itten-johannes.htm
Autumn by Johannes Itten 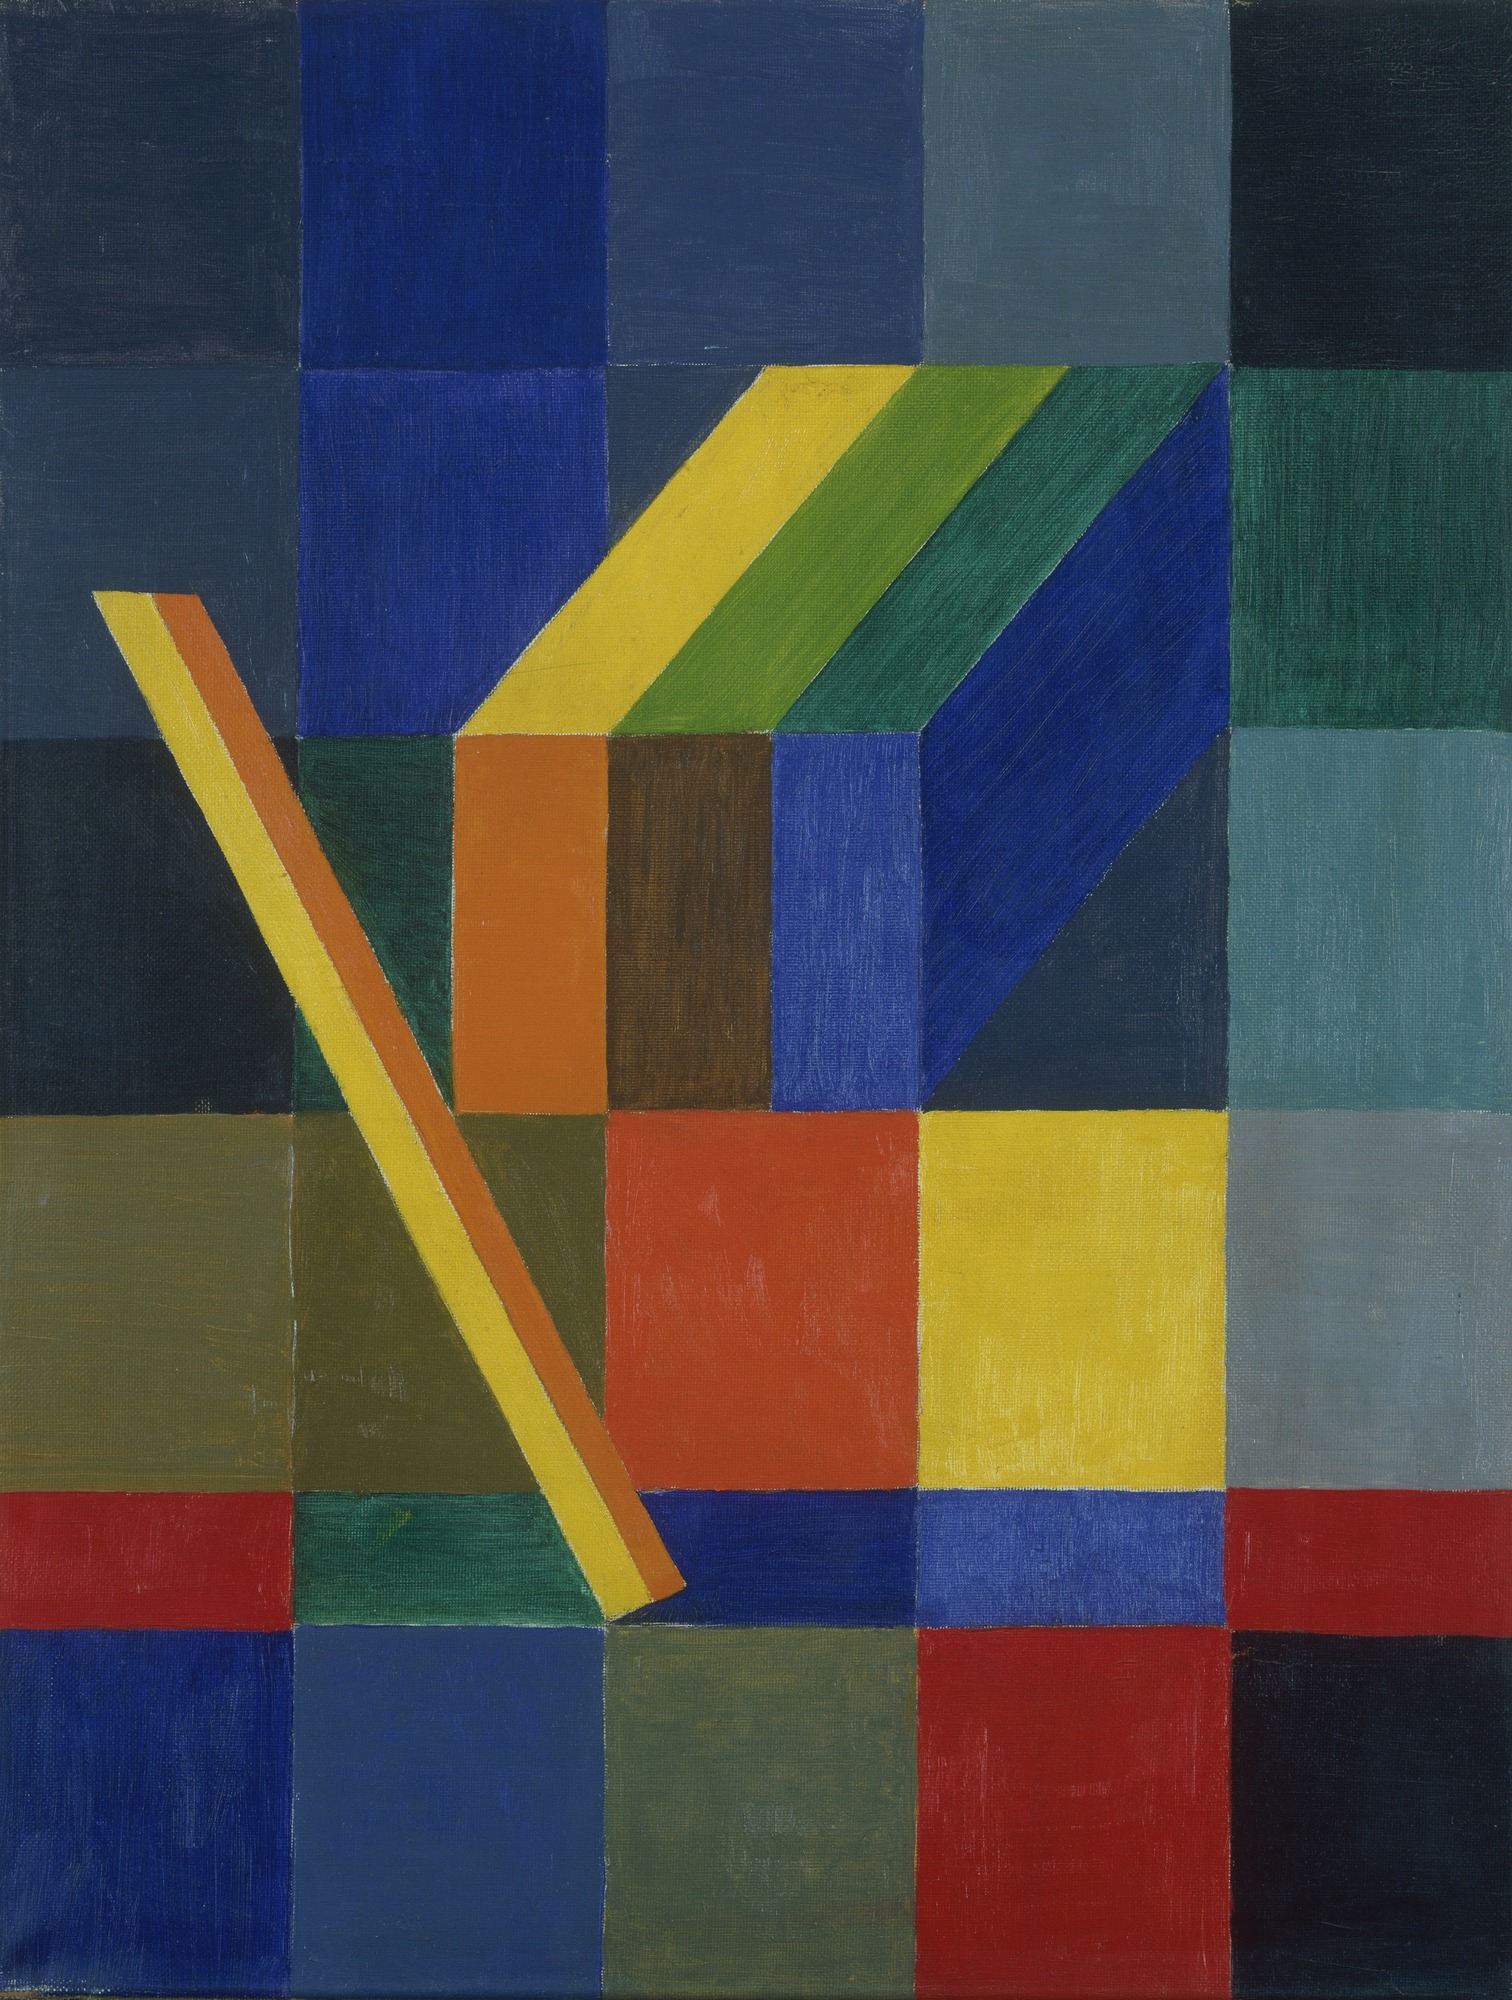
Johannes Itten. MoMA 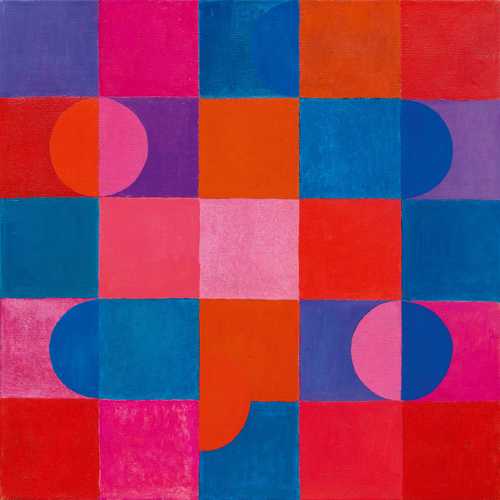
Johannes Itten. Zweiklang. 1964
The Interaction Between Colours
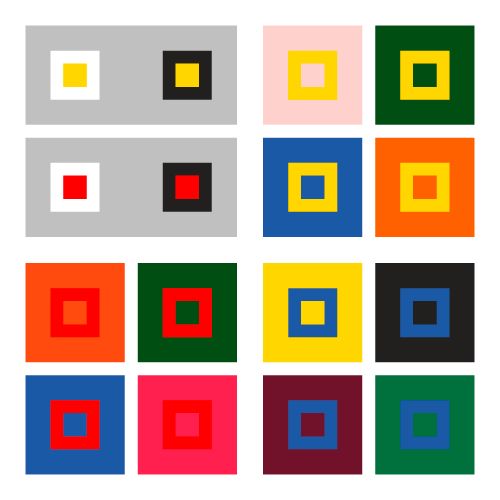
The colour in a picture is always relative, you will never see a colour as it really is, as how it is physically. This is because there are influences of the other colours around. These influences or interactions can be received in different ways. Below is a list of influential factors that makes the colours to be as relative and that generates such a variety of colour results.
- The colours and the shapes that are around. The same colour with different shapes and with other colours around will be perceived with different value.
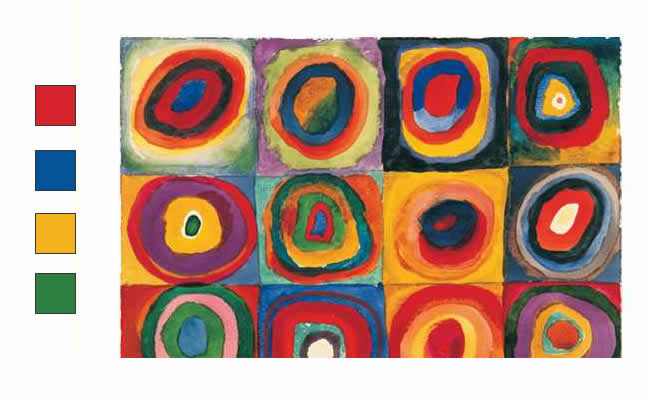
2. Colour is the most relative of all media or visual art elements. On that example you clearly can follow the changes of the blue shade regarding of the background set of the colours, where on the warm background the blue square is stands out, but on the shade of analogues colours the blue colour disappearing and looks darker.

3. Light intensity or brightness. Example of the same colour surrounded by a darker or lighter background:

4. One colour looks like two different colours. This is because the addition of colours.

5. Two colours look like the same colour. Abduction of colours.

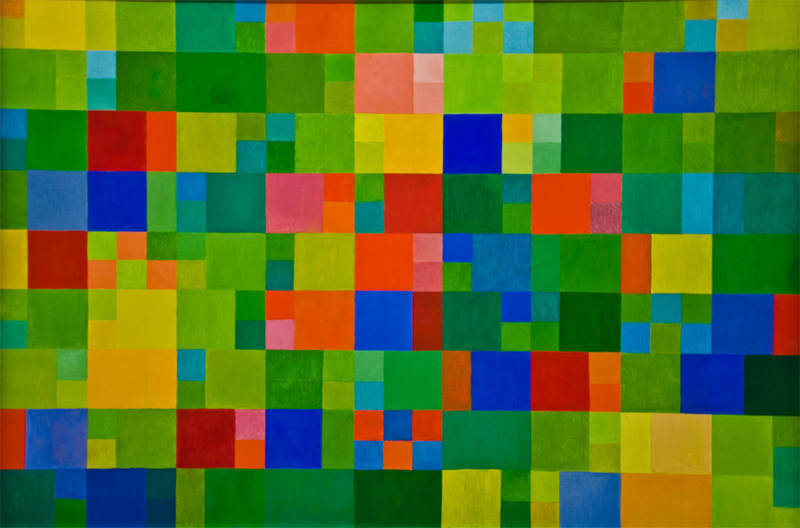
Colour Harmonies
For a basic acquaintance with the color palettes, I decided to give examples of color combinations. These combinations create pleasing contrasts and consonances that are said to be harmonious. At the same time these combinations can be of complementary colours, split-complementary colours, color triads, or analogous colours.
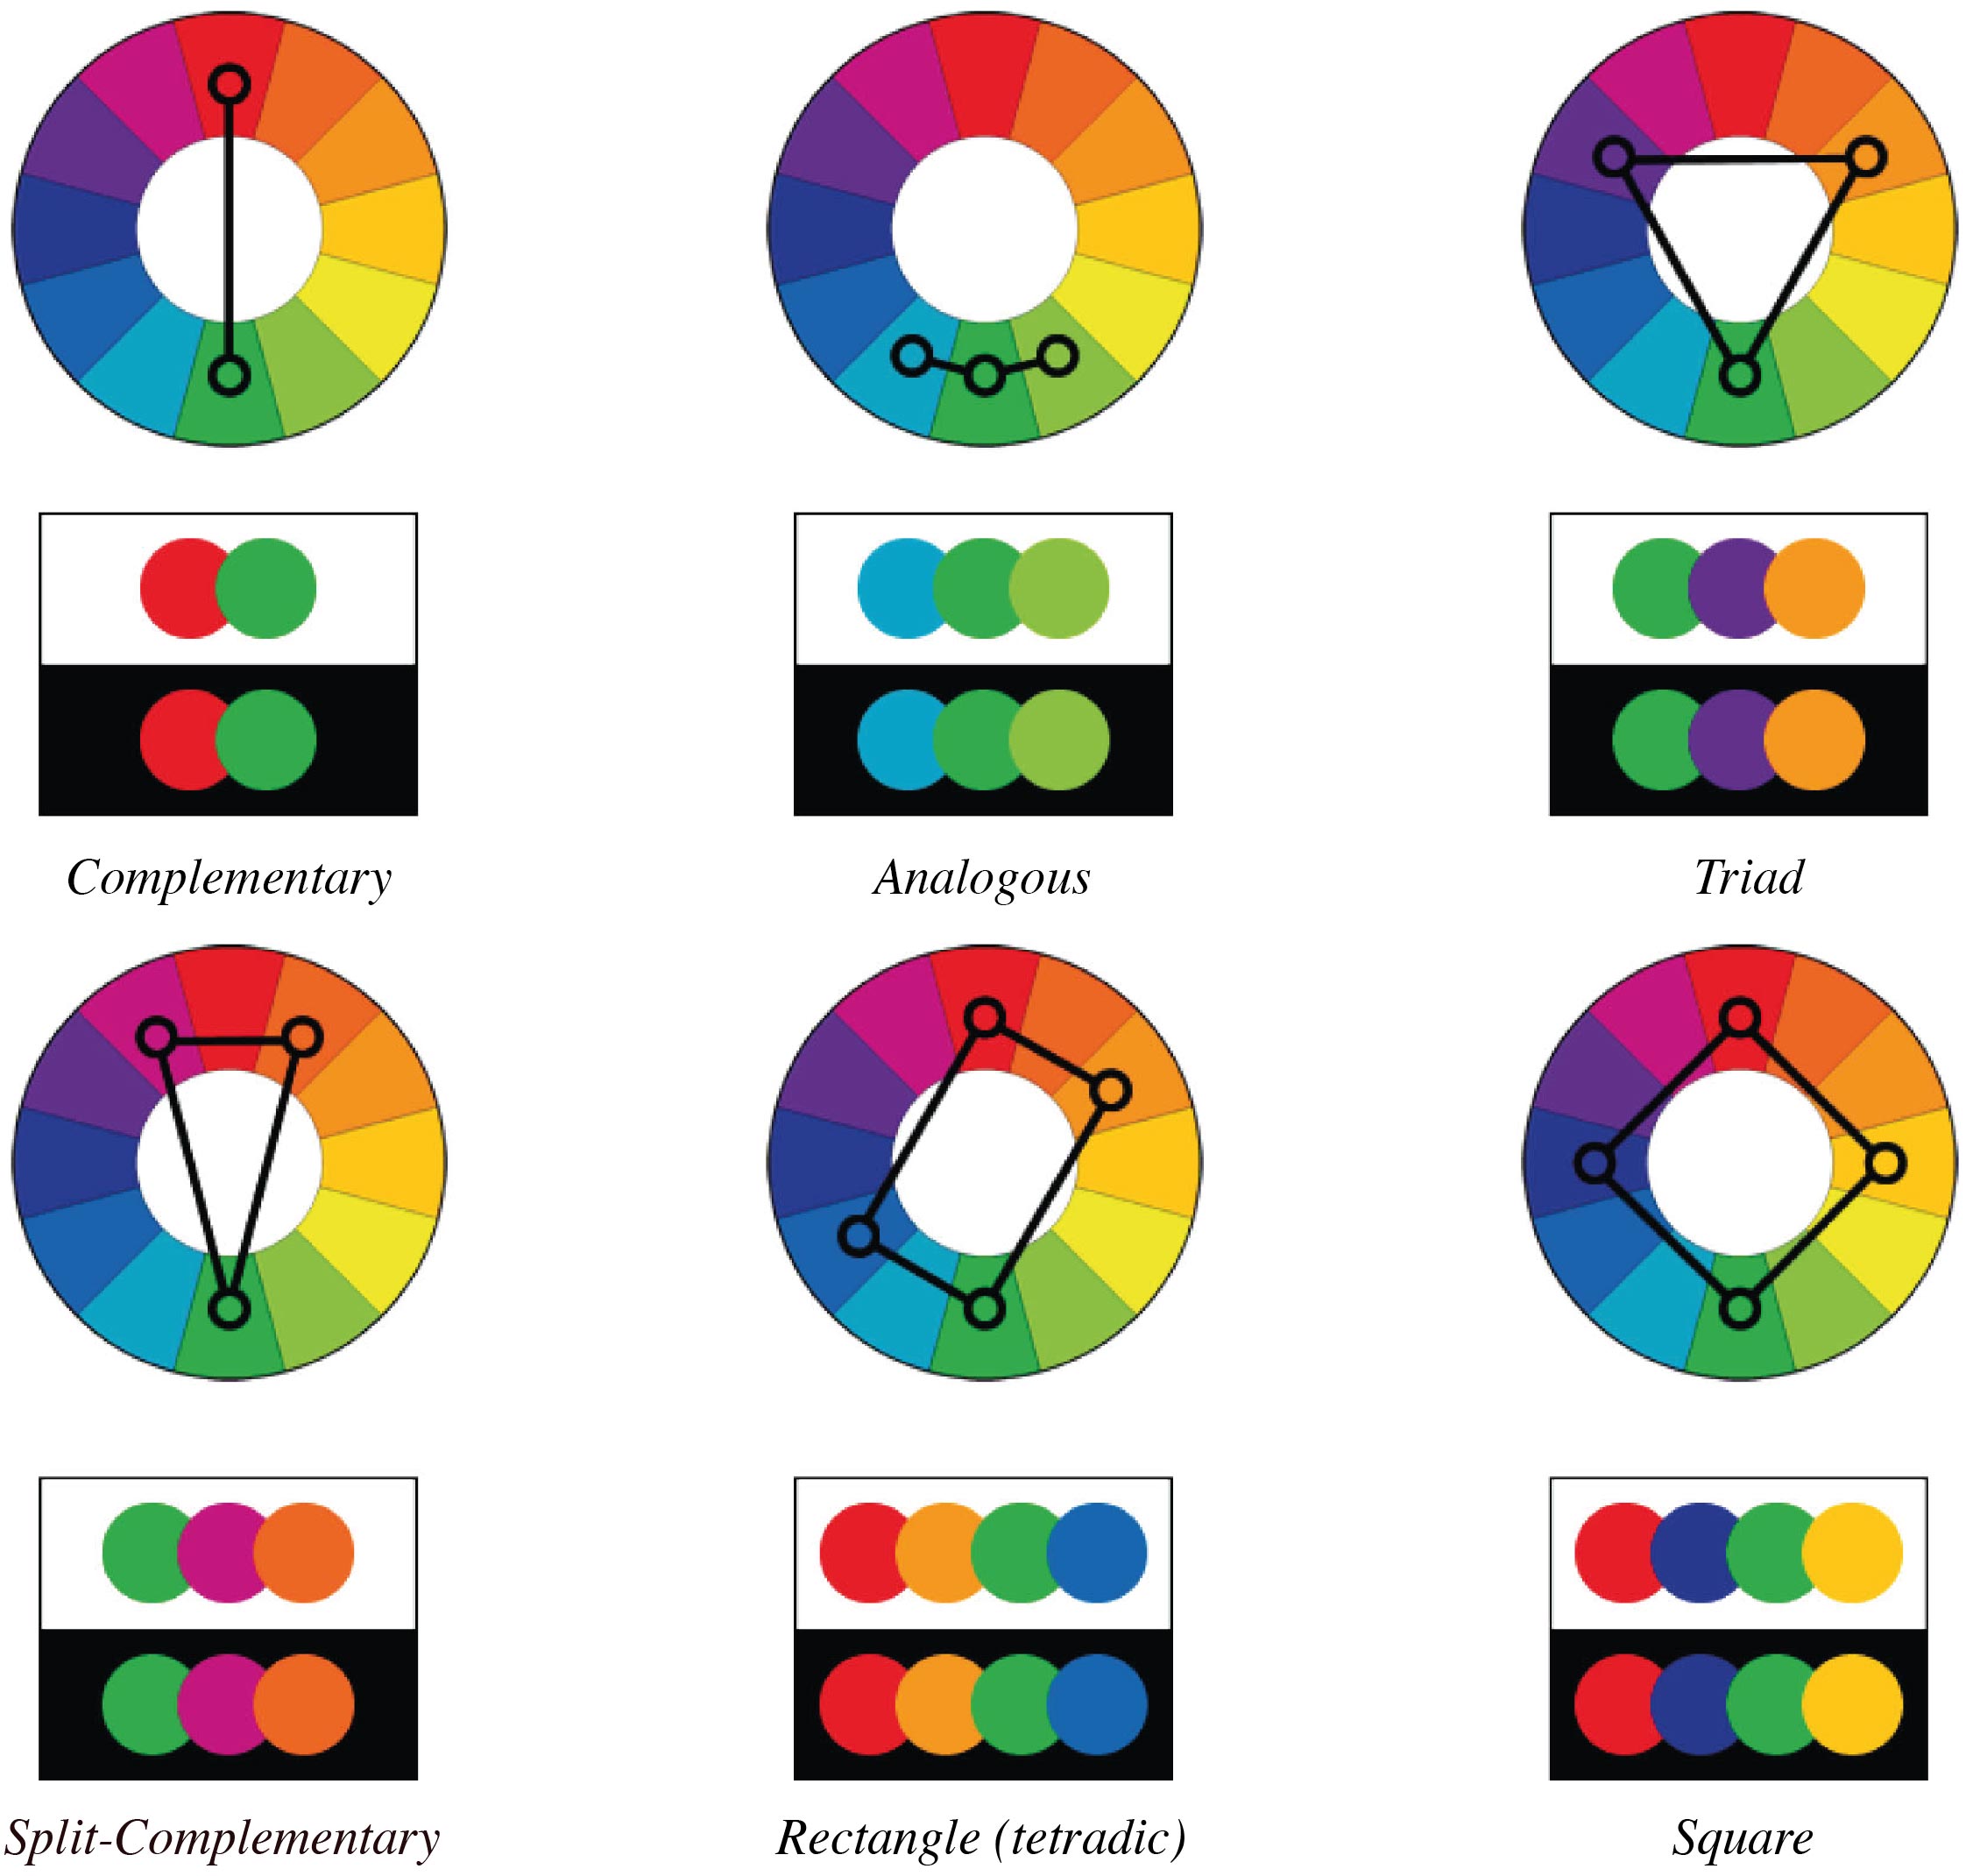
Complementary. Colours that are opposite each other on the colour wheel are considered to be complementary colours (example: red and green).
Analogous. Analogous colour schemes use colours that are next to each other on the colour wheel. They usually match well and create serene and comfortable designs. Analogous colour schemes are often found in nature and are harmonious and pleasing to the eye.
Triad. Triadic colour harmonies tend to be quite vibrant, even if you use pale or unsaturated versions of your hues. To use a triadic harmony successfully, the colours should be carefully balanced – let one colour dominate and use the two others for accent.
Split-Complementary. The split-complementary colour scheme is a variation of the complementary colour scheme. In addition to the base colour, it uses the two colours adjacent to its complement. This colour scheme has the same strong visual contrast as the complementary colour scheme, but has less tension.
Rectangle (tetradic).The rectangle or tetradic colour scheme uses four colours arranged into two complementary pairs. This rich colour scheme offers plenty of possibilities for variation. The tetradic colour scheme works best if you let one colour be dominant.
Square. The square colour scheme is similar to the rectangle, but with all four colours spaced evenly around the colour circle. The square colour scheme works best if you let one colour be dominant.
The Source http://www.tigercolor.com/color-lab/color-theory/color-harmonies.htm
Practical lesson
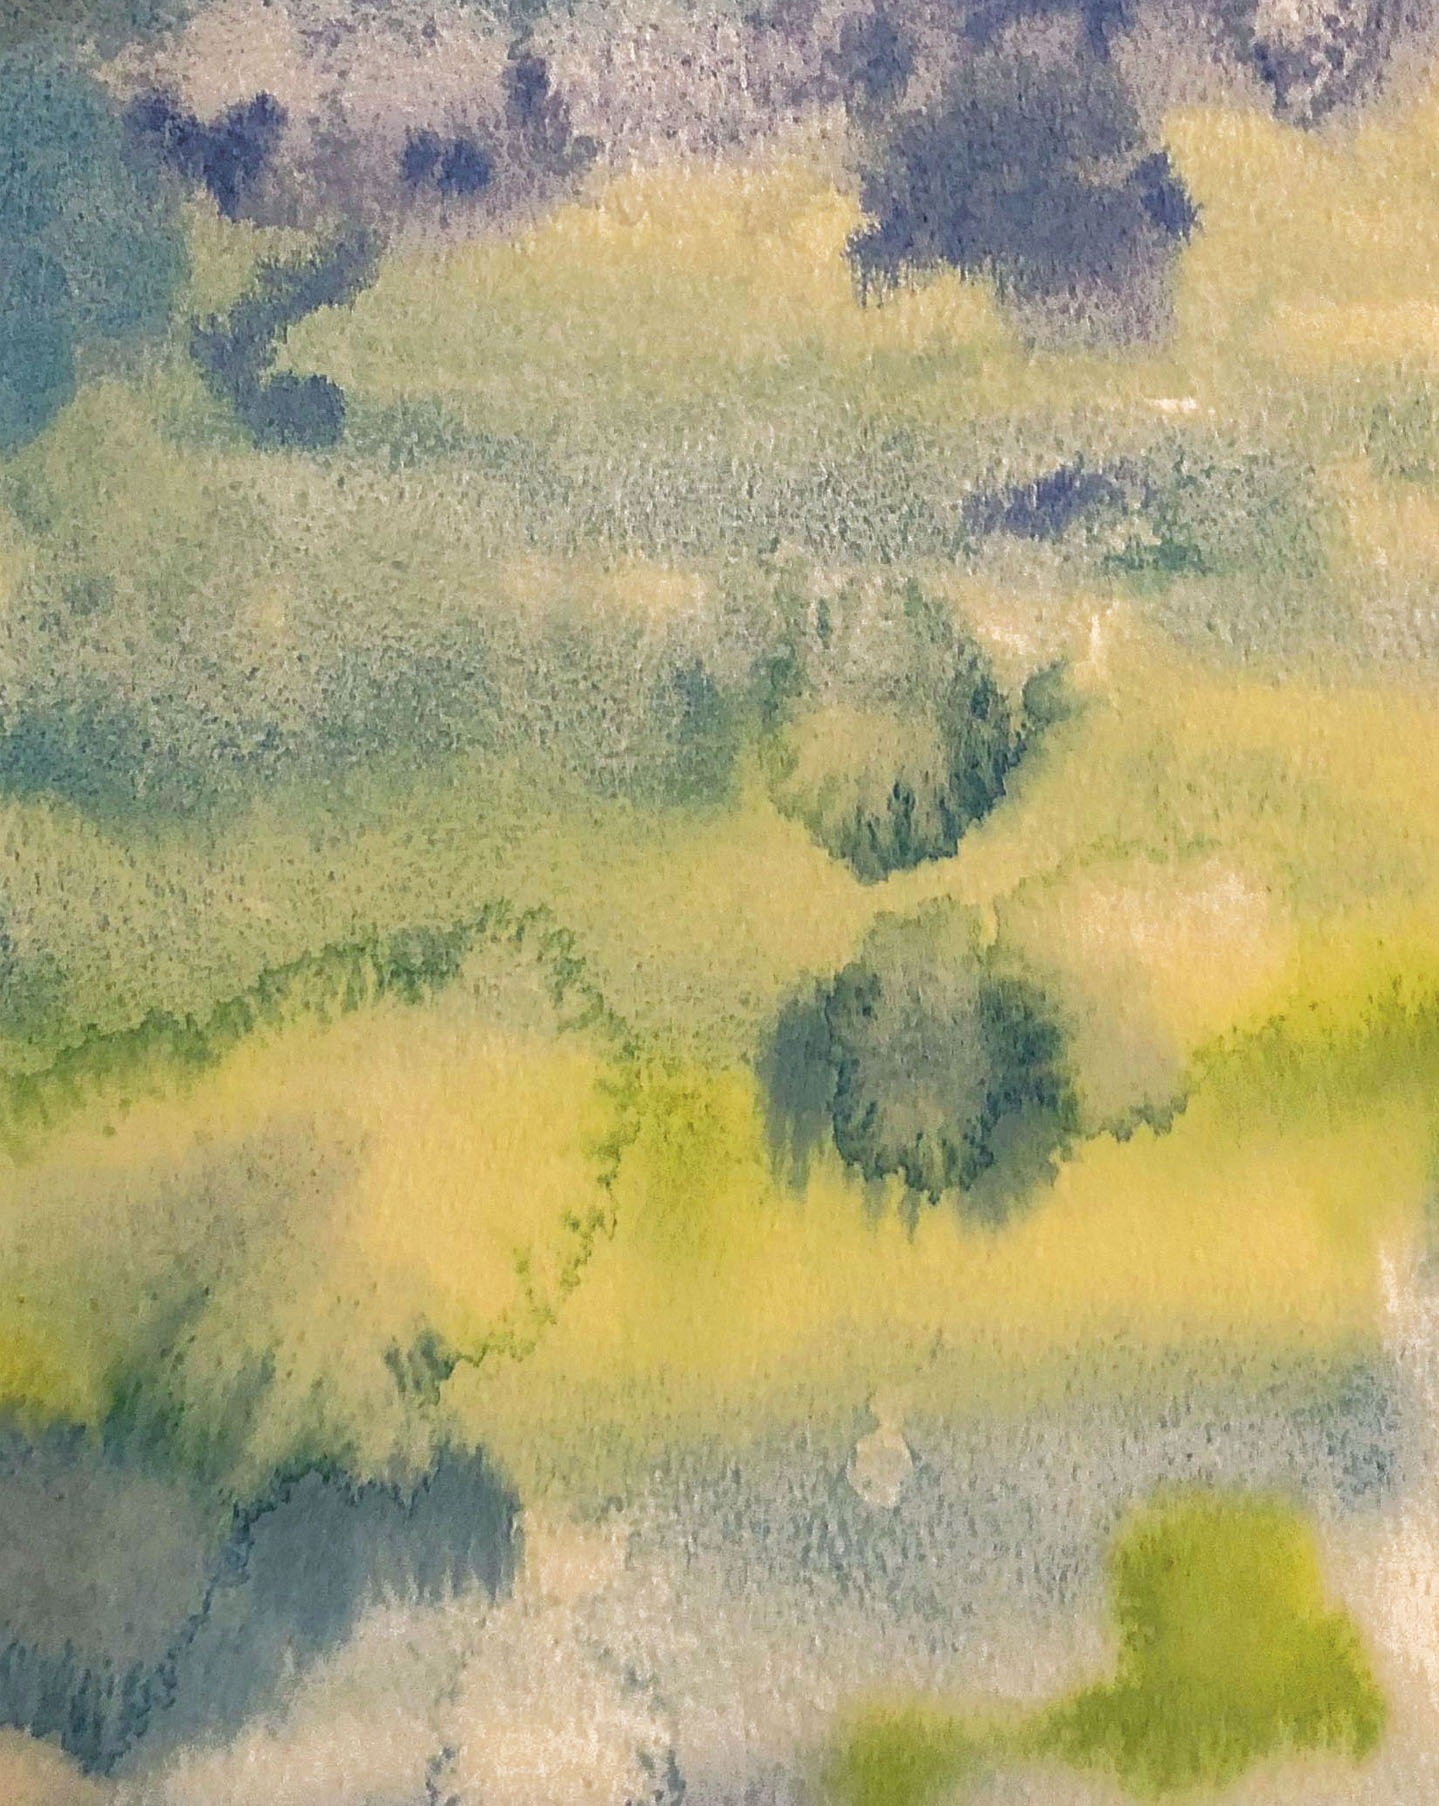
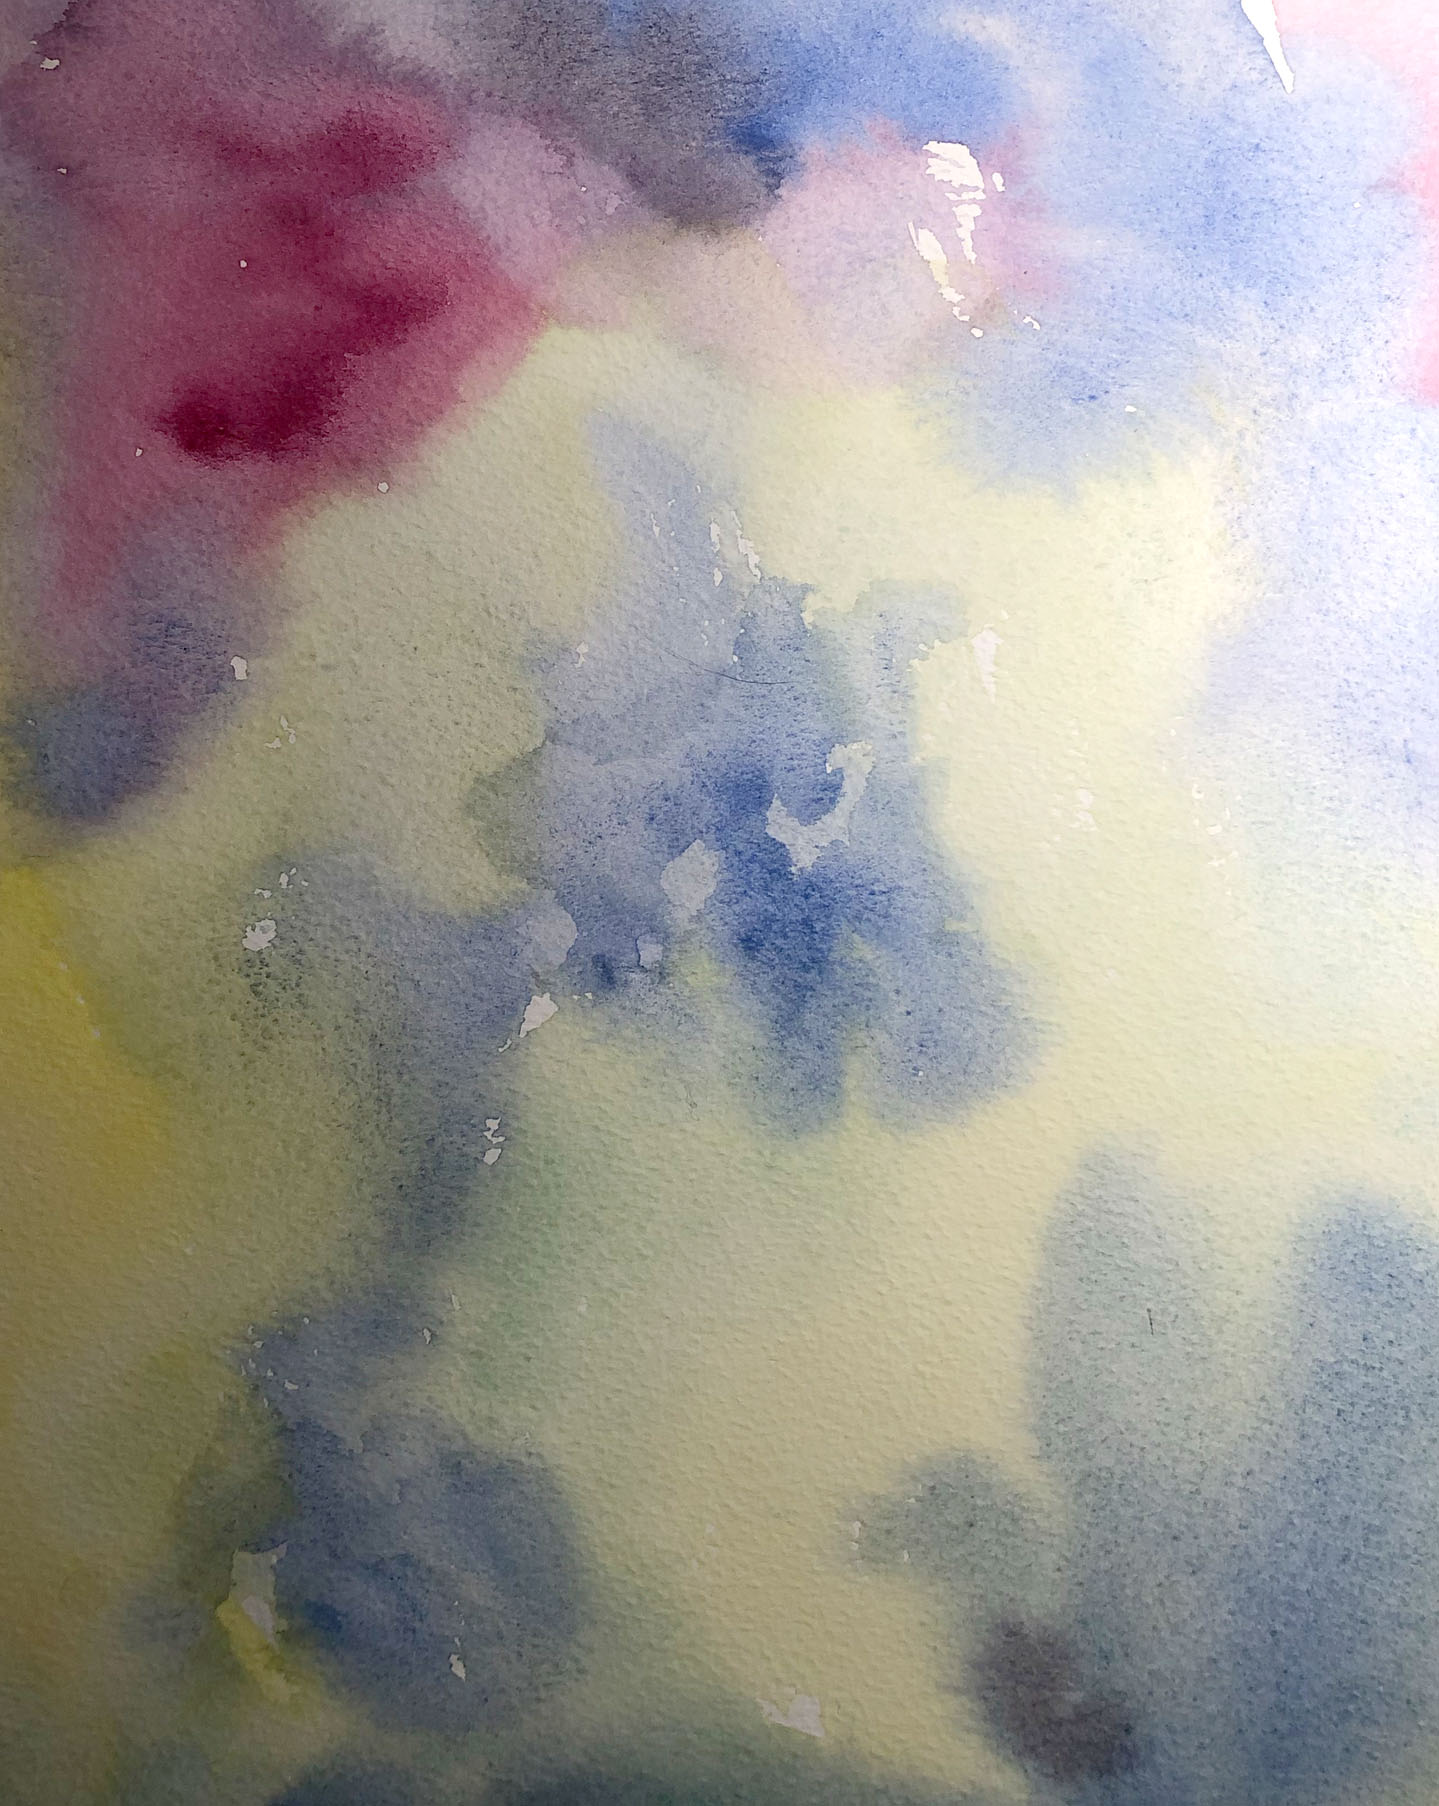
So, after the familiarisation course, I started a practical lesson. I’ve noticed, that my colour preferences are the intersection of pastel delicate tones, as well as complex colours with rich bright colours. In my understanding, if the colour is simple, such as yellow, red, green, this colour belongs to the order of flat colours in which there is no depth, but if there are several shades in the colour, for me it is a more pleasant hues composition. Also, I would not give preference to dark dull shades, such as marsh, brown, grey. But in the process of how I selected colours from one row of loved ones to unloved ones, I swept as I flip colours from one column to another, it is still difficult to choose any favourite or unloved color, if we select a certain group of colours, such as gentle pastel colours, and sending all the variegated and dark ones to unfavourite group, it becomes boring to look at monotony for the eye, contrast is important to us, and even the unloved bright red or purple, or fluorescent crimson can become a favourite at certain moments or under certain mood.
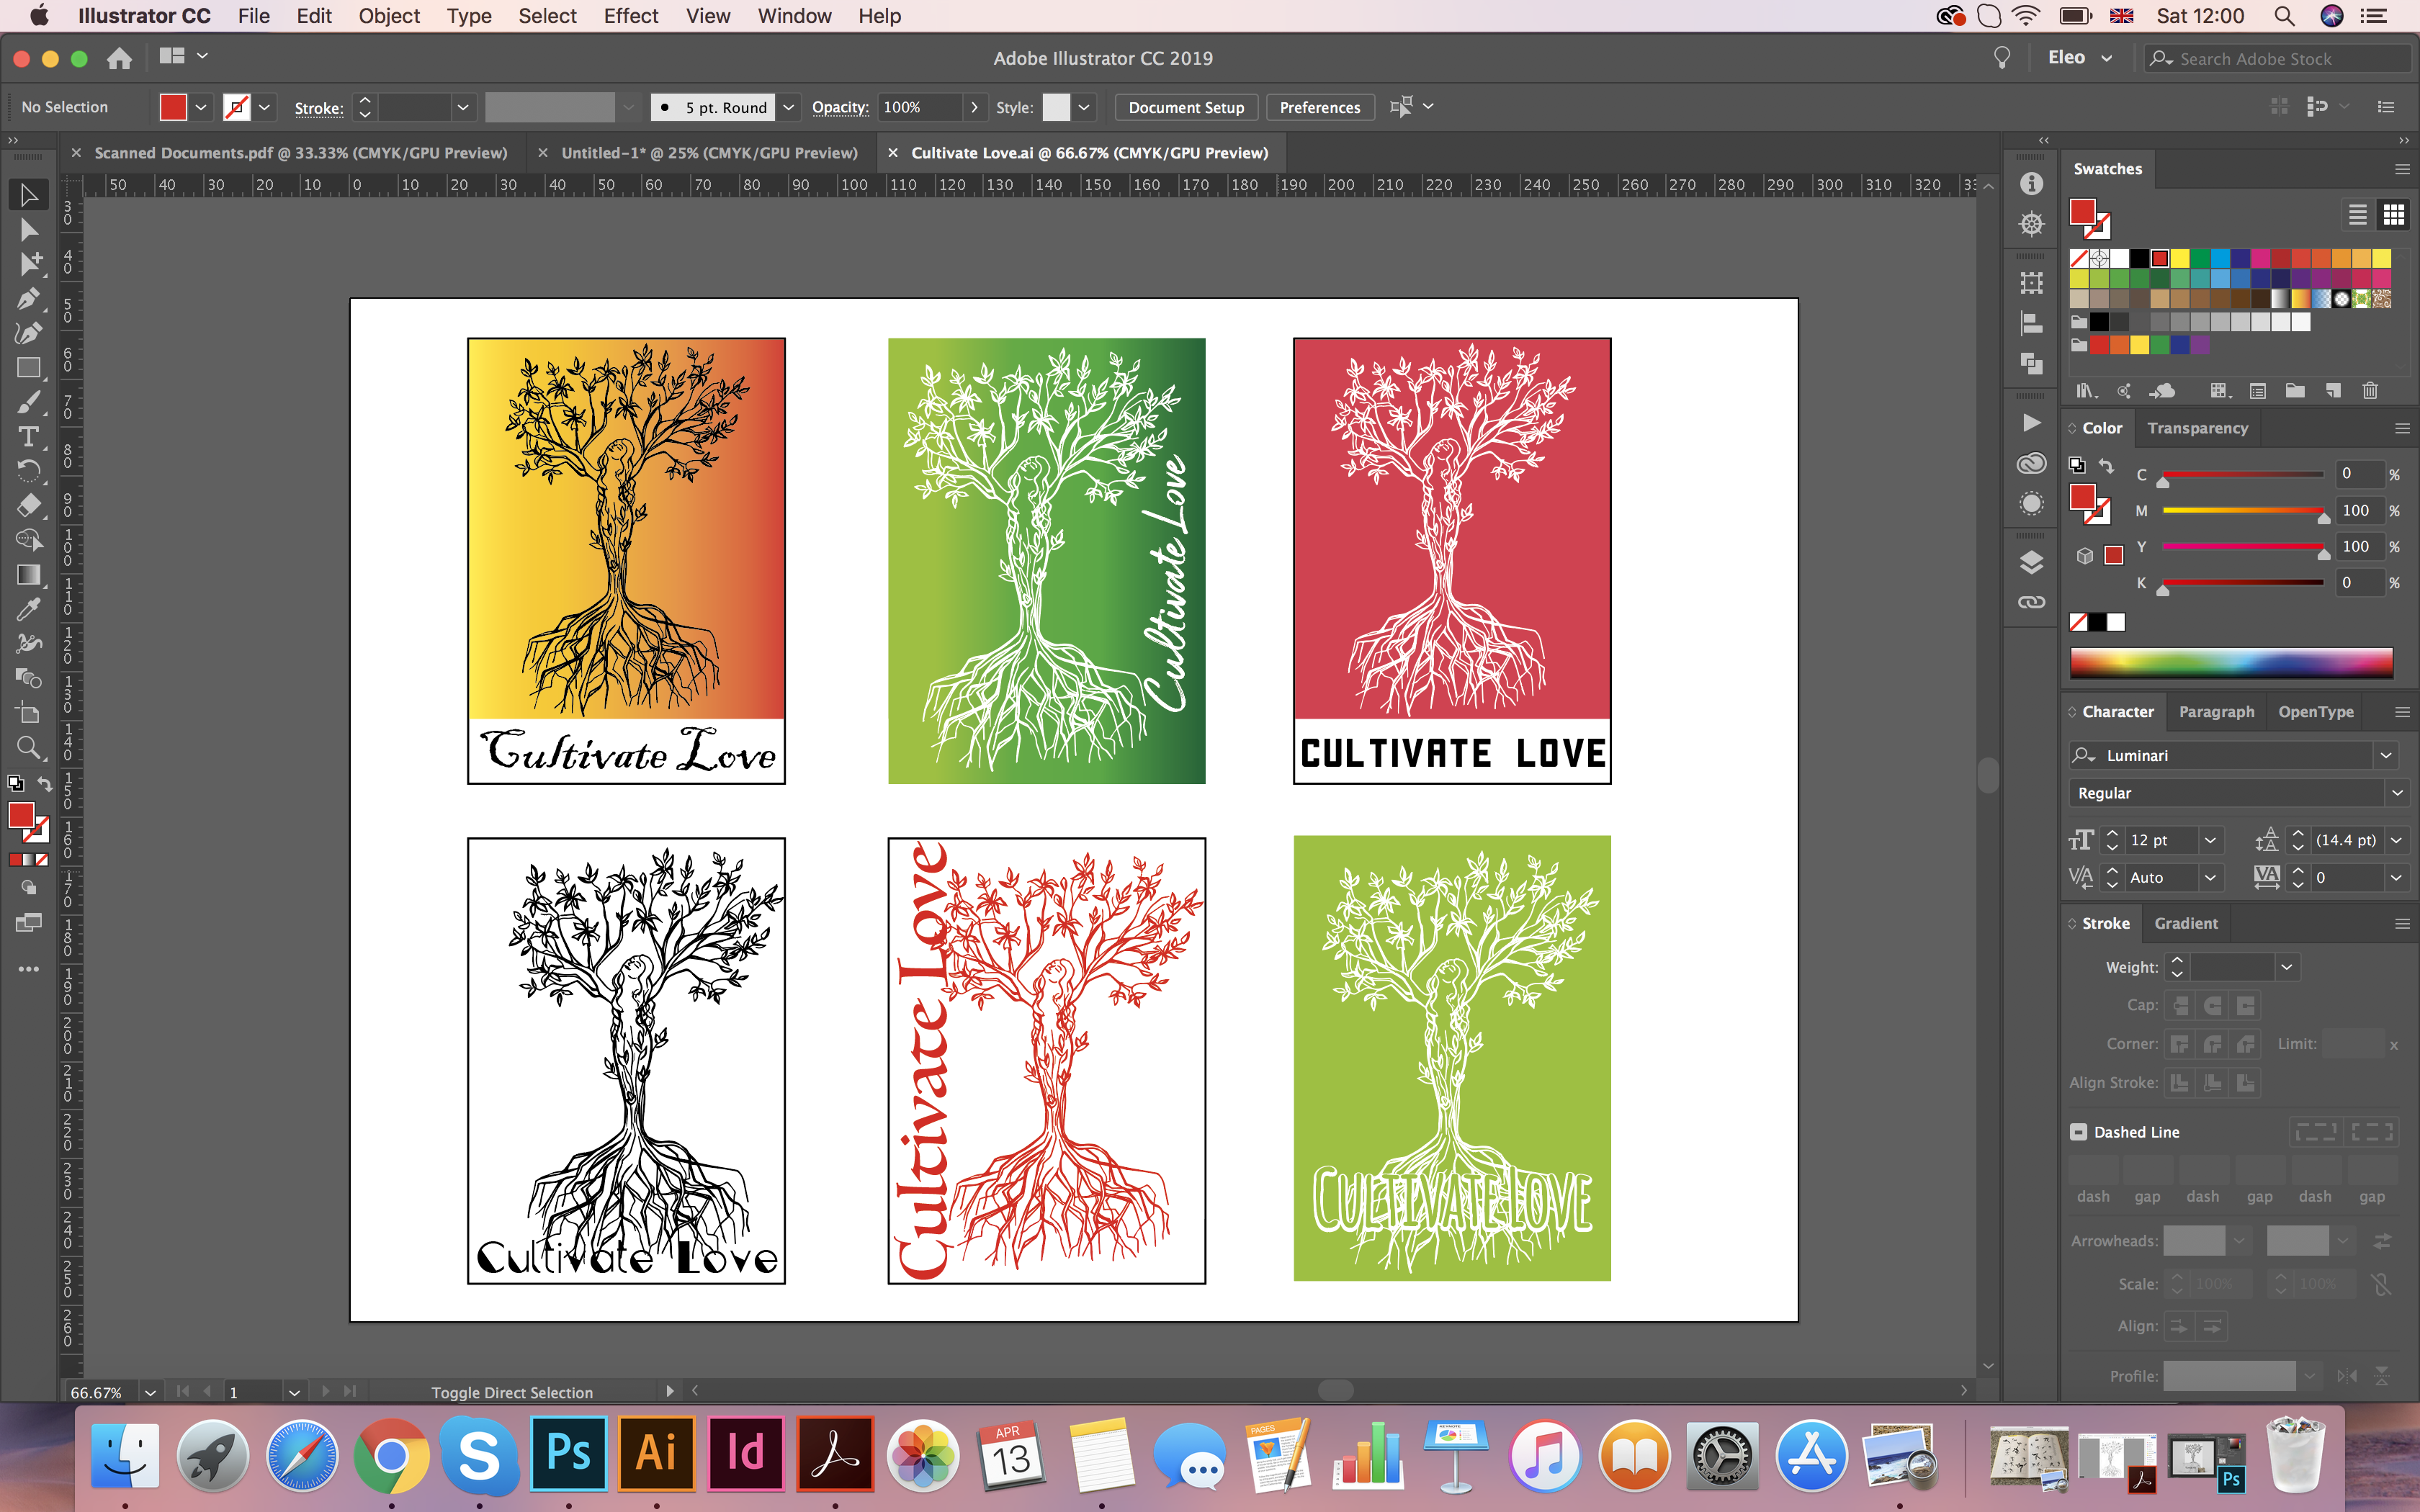
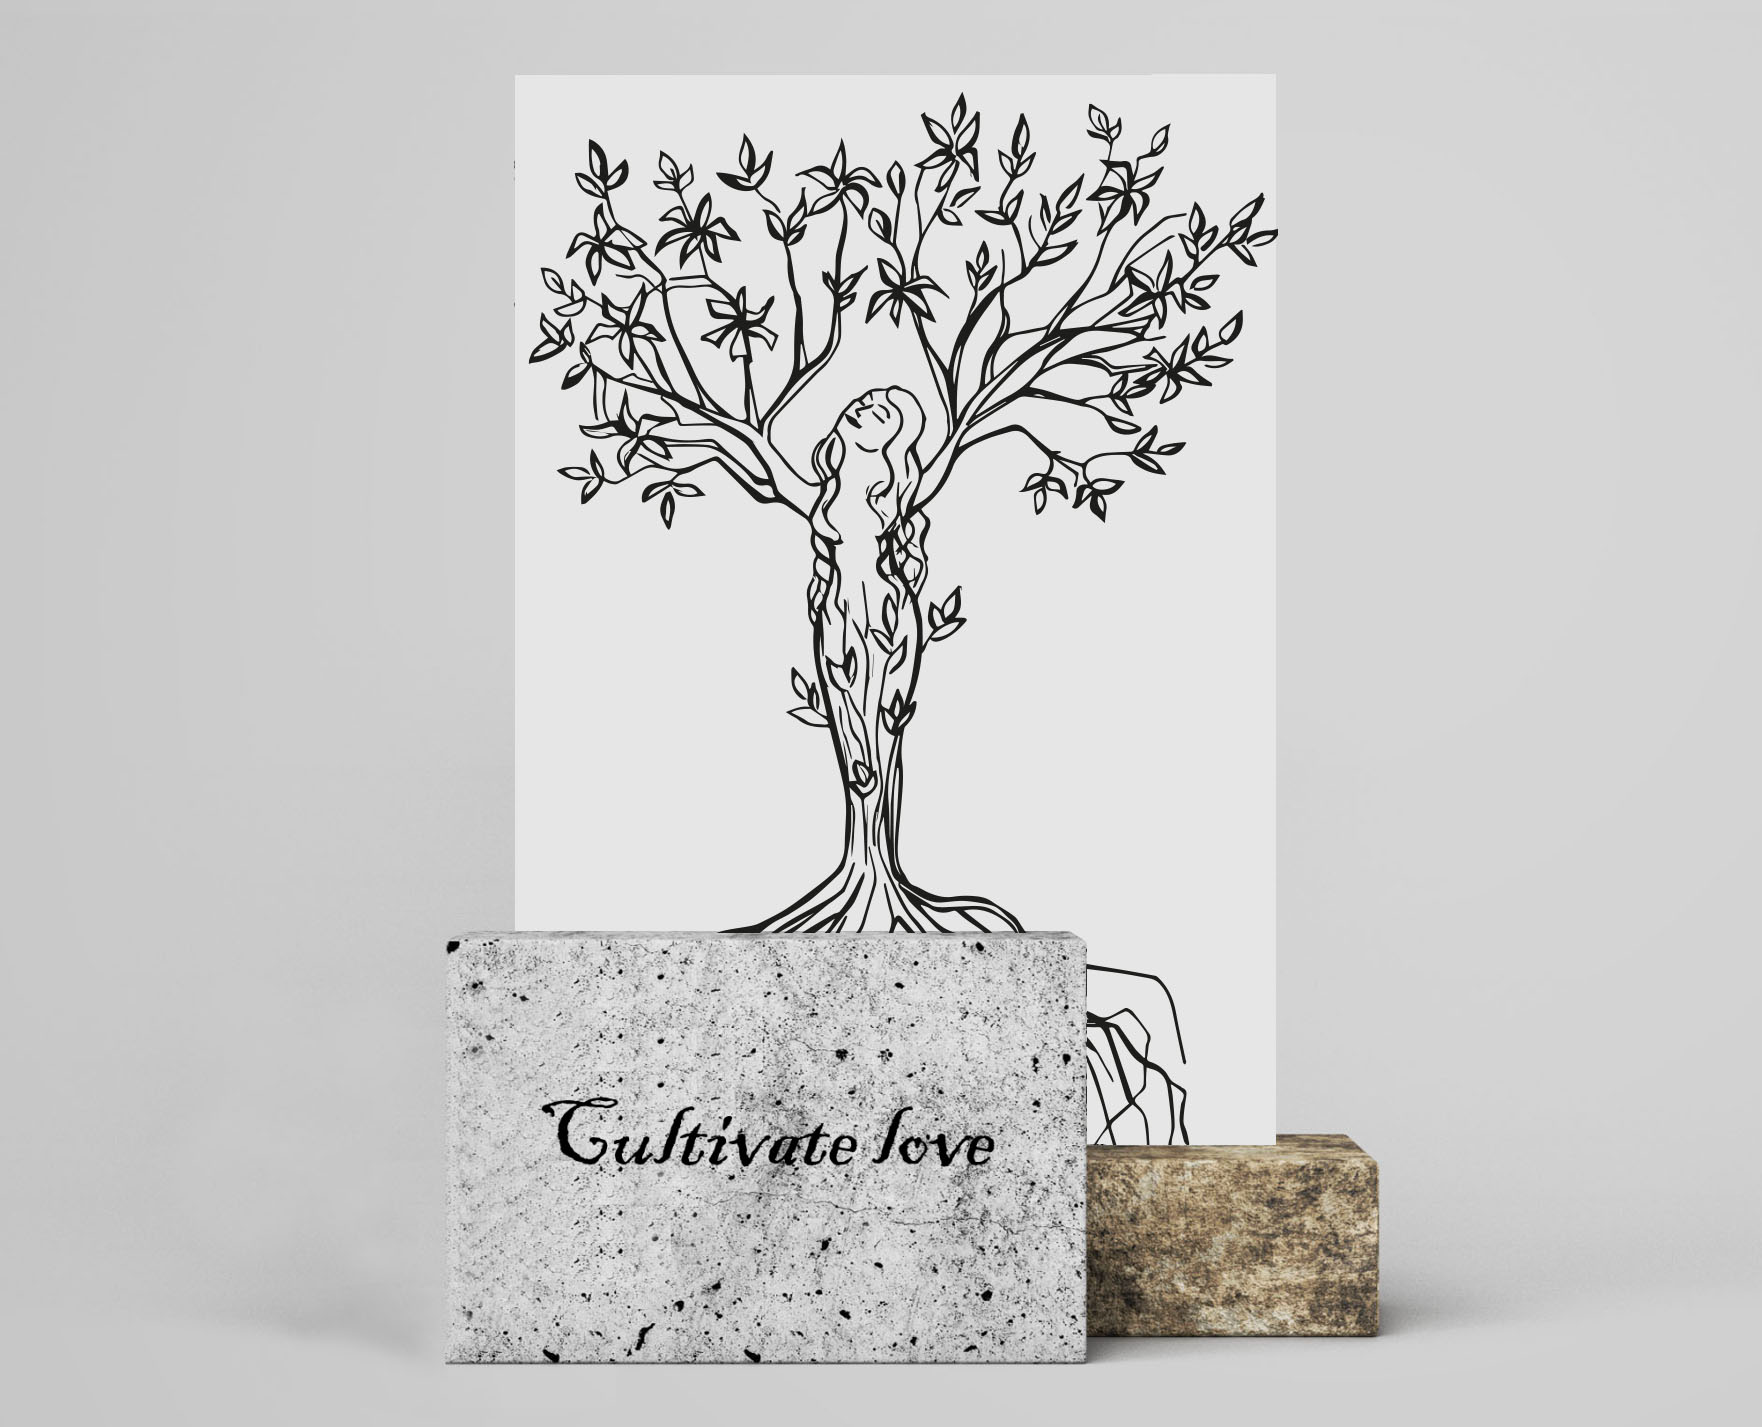
When the turn came to the colour matching technique, following Itten’s theory, I discovered a new associative series in the search for colour combinations for the ideas from the exercise. In this case, the Color Guide option In Adobe Illustrator was very useful where I could combine colours in contrast to each other. At the beginning of the ideas were fairly simple, such as anger associated with red, black, rather aggressive combination, for the brave I chose a contrast combination of bright blue and yellow, if you are brave, you cannot go unnoticed. For an idea creative, unusual, tasty, I chose bright combinations of opposite colours as blue and yellow. For example, such ideas as young, energetic and dangerous in my understanding were more obvious colour combinations, but for such ideas as sociable, masculine, reasonable I found them quite challenging, as they were hard to imagine.

In conclusion, I would like to add that I enjoyed this exercise. In my practical classes, working with a color scheme was most pleasing to me, since I had the opportunity to convey my mood using only a few color scales. At the same time, there is no concept of a desired or unnecessary color, or a correct or ugly color, we ourselves attach meaning to each color, and choose our compositions intuitively, but when it comes to marketing techniques about color theory to increase sales, a new page of color theory opens here.


